Hey there! As a supplier of Three - axis Positioners, I've seen firsthand how crucial it is to properly adjust the pre - load of the bearings in these machines. In this blog, I'm gonna walk you through the process of adjusting the pre - load of a three - axis positioner's bearings, so you can keep your equipment running smoothly and efficiently.
Why Pre - load Adjustment Matters
Before we dive into the how - to, let's talk about why pre - load adjustment is so important. The pre - load on a bearing is the amount of force applied to it when it's installed. This force helps to eliminate internal clearance in the bearing, which can improve its performance in several ways.
First off, it reduces vibration and noise. When a bearing has too much clearance, it can rattle around, causing annoying noises and potentially leading to premature wear. By adjusting the pre - load, we can make sure the bearing runs quietly and smoothly.
Secondly, proper pre - load can enhance the bearing's stiffness. A stiffer bearing can handle higher loads without deforming, which is essential for the precision and accuracy of a three - axis positioner. This is especially important in applications like welding, where even the slightest deviation can affect the quality of the work.
Tools You'll Need
To adjust the pre - load of a three - axis positioner's bearings, you'll need a few basic tools. Here's what you should have on hand:
- A torque wrench: This is used to apply the correct amount of force when tightening the bearing components.
- A feeler gauge: It helps you measure the clearance between the bearing and its housing.
- A set of wrenches: You'll need these to remove and install the various parts of the positioner.
- A micrometer: This is useful for taking precise measurements of the bearing and related components.
Step - by - Step Guide to Adjusting Pre - load
Step 1: Prepare the Positioner
First, make sure the three - axis positioner is turned off and unplugged. This is a safety measure to prevent any accidental movement while you're working on it. Then, remove any covers or guards that are blocking access to the bearings.
Step 2: Inspect the Bearings
Take a close look at the bearings. Check for any signs of damage, such as cracks, chips, or excessive wear. If you notice any issues, it's best to replace the bearing before proceeding with the pre - load adjustment.
Step 3: Measure the Initial Clearance
Use a feeler gauge to measure the clearance between the bearing and its housing. This will give you a baseline measurement. Write down this value, as you'll need it later to determine if the pre - load adjustment is successful.
Step 4: Adjust the Pre - load
There are a few different methods to adjust the pre - load, but one common way is to use shims. Shims are thin pieces of metal that can be added or removed to change the distance between the bearing and its housing.
Start by loosening the bolts that hold the bearing in place. Then, carefully insert or remove shims as needed. If you want to increase the pre - load, add shims. If you need to decrease it, remove shims.
After making the adjustment, tighten the bolts back up using a torque wrench. Make sure to follow the manufacturer's recommended torque settings.
Step 5: Re - measure the Clearance
Once you've tightened the bolts, use the feeler gauge again to measure the clearance. Compare this new measurement to the initial one. If the clearance has decreased, you've successfully increased the pre - load. If it's still too large, you may need to add more shims and repeat the process.

Step 6: Test the Positioner
After adjusting the pre - load, it's time to test the three - axis positioner. Turn it on and run it through a few cycles to make sure it's operating smoothly. Listen for any unusual noises or vibrations. If everything seems okay, you're good to go!
Different Types of Three - axis Positioners
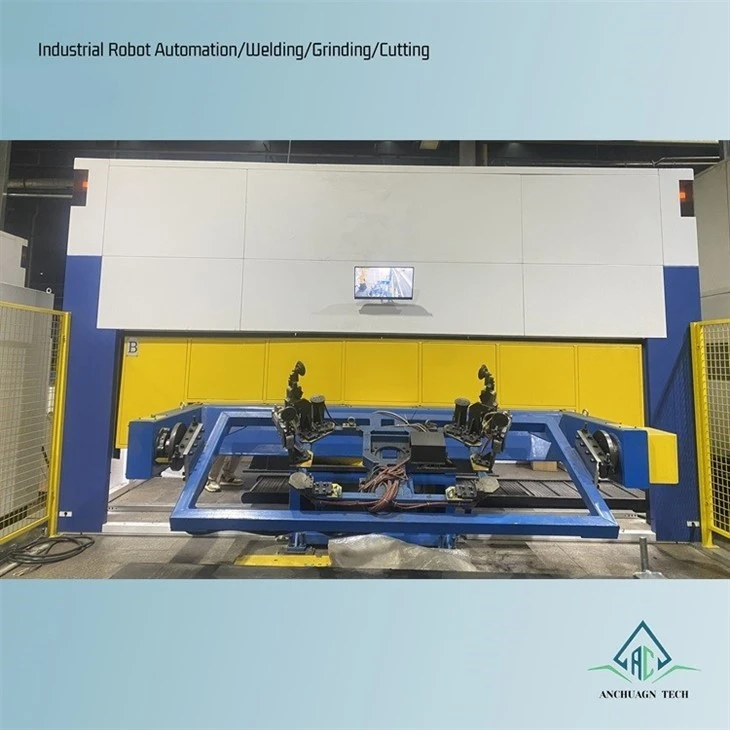
We offer a variety of three - axis positioners to meet different needs. For example, the Three - axis Welding Positioner is specifically designed for welding applications. It provides precise control and positioning, making it ideal for high - quality welding jobs.
The Compact Three - axis Rotary Dual - station Flip Positioner is a space - saving option. It has a dual - station design, which allows for increased productivity by enabling simultaneous operations on two workpieces.
And then there's the Three - axis Flip Positioner. This positioner is great for applications where you need to flip the workpiece for different operations. It offers smooth and reliable flipping action.
Tips for Maintaining Proper Pre - load
- Regularly inspect the bearings: Check for wear and damage on a regular basis. This can help you catch any issues early and prevent more serious problems down the road.
- Follow the manufacturer's guidelines: Always refer to the manufacturer's instructions for pre - load adjustment and maintenance. They know their products best and can provide the most accurate information.
- Keep the positioner clean: Dirt and debris can cause premature wear on the bearings. Make sure to clean the positioner regularly to keep it in good condition.
Conclusion
Adjusting the pre - load of a three - axis positioner's bearings is an important part of maintaining the performance and longevity of your equipment. By following the steps outlined in this blog, you can ensure that your positioner runs smoothly and efficiently.
If you're in the market for a three - axis positioner or need more information about pre - load adjustment, don't hesitate to reach out. We're here to help you find the right solution for your needs and ensure that your equipment operates at its best.
References
- Machinery's Handbook, 31st Edition
- Bearing Installation and Maintenance Guide by SKF